The start of the school year brings a sense of beginnings and the opportunity for students to express themselves. One exciting way to add creativity and your personal touch to your school supplies is by decorating your notebooks with DIY stickers.
In this article we’ll explore how you can transform notebooks into tools, for learning and self expression.
Discovering the Magic of Kiss Cut Stickers
Before we delve into the process of decorating your notebooks let’s take a moment to understand what kiss cut stickers are. What makes them special?
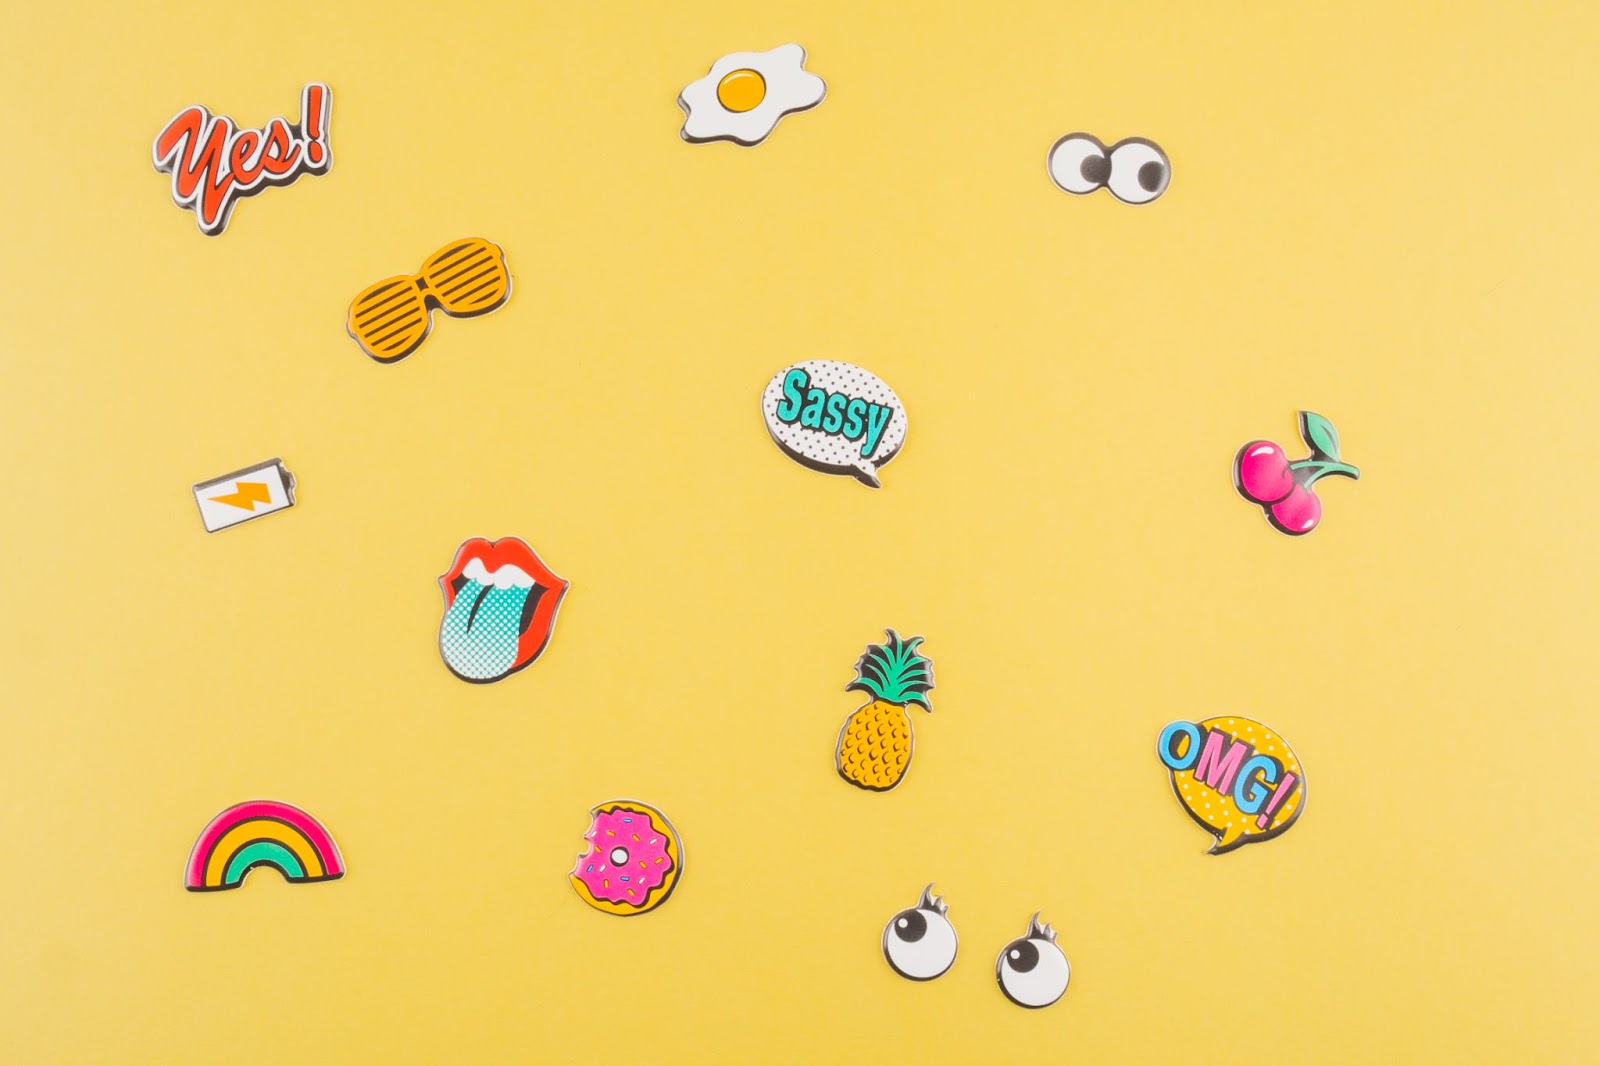
Kiss cut sticker sheets are decals that are precisely cut, allowing them to peel easily from their backing material. They get their name because the cuts don’t go all the way through making them simple to handle and apply.
What sets kiss cut stickers apart is their versatility and wide range of designs and patterns available. These stickers can be shapes, intricate illustrations, beautiful floral motifs, inspiring quotes or even unique custom designs tailored just for you.
Their versatility makes them an excellent option, for adding flair to your notebooks allowing you to create a variety of themes and styles.
Materials You’ll Need
To start your DIY notebook decoration project with kiss cut stickers you’ll require an items:
Notebooks: Begin with plain unadorned notebooks as the perfect blank canvas.
Kiss Cut Stickers: Gather a collection of kiss cut stickers that resonate with your style and the aesthetic you desire for your notebooks. These stickers can be found both in stores and online offering options.
Scissors: Keep a pair of scissors for trimming if you wish to adjust sticker sizes or shapes.
Crafting Tools: Consider having tools like tweezers or a craft knife available for sticker placement.
Workspace: Set up a well lit workspace where you can comfortably work on your notebook decorating project.
Planning Your Notebook Decor
Before delving into the application of kiss cut stickers on your notebooks it’s beneficial to have a plan, in mind, think about the theme or style you wish to achieve. Are you looking for a colorful design, minimalist appearance or think about your preferences and the purpose of each notebook?
For instance you can add symmetrical designs to your math notebook while your creative writing notebook can have artistic elements. Customizing the decoration of your notebooks based on their intended use can help you stay organized and motivated throughout the school year.
Step by Step Guide to Decorating Your Notebooks with Kiss Cut Stickers
Now let’s break down the process of embellishing your notebooks with kiss cut stickers into the following steps:
Step 1: Select Your Stickers
Start by choosing the kiss cut stickers that you want to use for decorating your notebook. Consider their color schemes, themes and designs that match what you have in mind. This step sets the tone for your DIY project.
Step 2: Arrange and Visualize
Before sticking the stickers onto your notebook cover arrange them in a manner. This step allows you to experiment with layouts and see how each sticker interacts with others.
Step 3: Peel and Stick
One of the things, about kiss cut stickers is how easily they peel off from their backing material. Carefully peel a sticker from its backing without folding or creasing it.
First place the sticker on your notebook cover based on the design you’ve planned in advance. Give it a press to stick it. Avoid applying too much pressure until you are satisfied, with its placement.
Step 4: Adjust and Refine
If you’re not pleased with where a sticker’s positioned, no need to worry! That’s the advantage of kiss cut stickers. You can carefully peel them off, reposition them until you’re content and feel free to make any adjustments or refinements to create the layout.
Step 5: Repeat and Expand
Keep adding stickers one by one gradually building up your design as you go along. You can layer them overlap them or leave spaces between stickers, for an arrangement that feels harmonious. This is where your creativity can truly shine.
Step 6: Trim if Needed
If some stickers extend beyond the edges of your notebook or if you prefer an appearance use scissors to trim them down so they fit perfectly.
Step 7: Seal and Safeguard
To ensure that your beautiful designs remain intact and protected consider applying a cover or a layer of clear contact paper. This will help seal the stickers and shield them from wear and tear throughout the school year.
Step 8: Add a personal touch
Don’t forget to make your notebook unique, by including your name, grade or any other information you’d like. You can do this using custom stickers that are easy to peel off or a permanent marker.
Step 9: Repeat for other notebooks
Follow these steps consistently in case you are doing decorations on several notebooks. Ensure they match your themes, as well as the overall design of your website and emails.
Advantages of Decoration for Your Notebooks
Custom stickers on your notebooks are not only pretty but also have a deeper meaning, it is beneficial to the students and learners in all age groups:
Organization: A method by which you can differentiate between subjects or any kind of content by personalizing your notebooks.
Motivation: Personalized and attractive notebooks are motivating factors that a student can use to encourage him or her to do assigned notes and assignments.
Creativity: This activity allows one to be creative by providing avenues for self-expression in the manner of decorating book covers.
Individuality: Uniqueness, the decorated notebooks reveal that you are unique, unlike other people.
Inspiring: The designs and themes you select can be uplifting as a matter of fact, they may act as an incentive to make use of your notebooks.
Conclusion
Using custom stickers as decoration of all necessary school equipment will enhance your imagination and individuality in the education process. Remember, as you embark on this DIY journey, nothing goes by rule.
It boils down to your imagination and your style sense. With stickers cut nicely, one’s notebooks will look amazing. When preparing for a new academic year as a student, stickers make learning fun, while adding artistic appeal.
Thus, slap on your sticker and showcase your personality in that notebook with those school supplies looking great.